All opinions are mine and mine alone.
Three DIY Home Storage Ideas
Home storage: something all of us need but most of us don’t want to pay out for. Wardrobes, shelves and drawers can cost lots of money, and even if a good deal is found, finding the right size to fit in your home is your next hurdle. If you’re in the market for new storage but want to save some pennies in the process, here are three DIY solutions for you to get stuck into.

Hanging Clothes Rail
If floor space is at a premium in your home – or if you just want to bring a bit of nature into your living area – a hanging clothes rail is the perfect opportunity. Most clothes rails are metal, but you can make one from natural resources, and here’s how.
You will need:
- A tree branch (must be weightbearing)
- 2x heavy duty ceiling hooks
- 2x pieces of rope
- Saw
If you can’t find a tree branch, you can buy one. First, cut the tree branch to size using the saw. If your branch is a good size to begin with, you can miss this step. Next, attach the heavy duty ceiling hooks to the ceiling, ensuring they’re the same width apart as the width of the branch. You will now need to cut the rope to the length you want your branch to be suspended to. Once you have cut your rope to length, create two loops at either side of both pieces of rope – one to attach the rope to the ceiling hooks, and one to slot the branch through. Once the rope is secured on the hooks and the branch has been slotted through, you’re done!
If you want to add a bit of charm, wrap some LED lights around the branch. Voila! You’re new hanging storage is ready to use. It will add a fashionable Scandinavian feel to your bedroom or dressing room. Just make sure you don’t put too much of a strain on the hooks or the ceiling by overloading the rail.
Bookshelf
Bookshelves tend to either be too big or too small, so why not make your own?
Your will need:
- 4x pieces aluminium angle 1.5” x 1.5”
- 4x pieces 10×2 timber
- Drill
- 32x Screws
- Saw
Firstly, you will need to decide the height you want your bookshelf to be. It’s best if you know this before you begin your project so you can get your aluminium angles sawn to the correct height. It’s also best if you know how wide you want your bookcase to be so you can get your timber cut to size to avoid wastage. Once you have your materials, you can begin refine the size of your shelves if necessary by adjusting the width of your four pieces of timber.
When you’re happy with sizing, lay out two of your metal angles vertically and your four wooden pieces of timber horizontally, making sure the metal angles align with the front and side corners of the wood and that the timber is evenly distanced along the lengths of the aluminium.
When you’re happy with spacing, secure the timber into the aluminium with screws, with one screw penetrating the front side of the aluminium and wood, and one screen penetrating the other side of the aluminium and the side of the wood. You should use eight screws on each piece of aluminium, so 16 screws in total. Repeat this process on the other side of the wood with your remaining two pieces of aluminium. Once you’ve glossed down your pieces of wood, you’re finished!
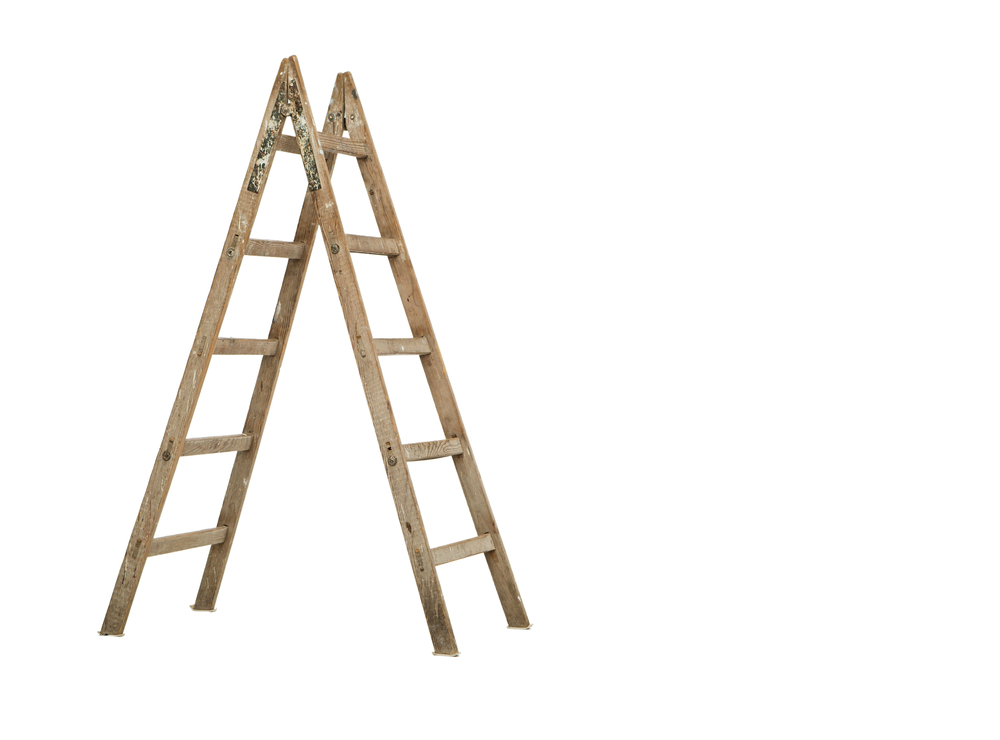
Ladder Display Unit
This project requires less effort than the others, so is a good one for if you’re dipping your toes into the DIY world. The nice thing about this project is that it can be used anywhere in the home, whether it’s the living room, dining room, home office, bedroom or bathroom.
You will need:
- A ladder
- 4x pieces timber (as wide as your ladder)
- Drill
- 16x screws
Start by removing the steps from the ladder and replacing them with the pieces of timber, ensuring the pieces of timber are longer than the frame of the ladder, and that the pieces at the top are longer than the pieces at the bottom. To secure the pieces of timber, add screws to the frame of the ladder that penetrate the timber. If you want to change the look of the unit, you can sand it down and paint it. That’s it! This is an exceptionally easy project that can be used to display plants, ornaments, a radio and books.
Will you be trying any of these projects?


Speak Your Mind